Portfolio/Blog/Photo Website
Baby steps and Kaizen...
Foreword
This was a really fun yet different project for me, and definitely my first venture into the web development world. Node.js was just gaining traction as I learned how to program, and I dabbled in Wordpress and content management in high school as the web-master for the Choate News. My passion has always been in robotics, so naturally my computer science knowledge always aims to serve my passion.
I developed a desire to express myself creatively during my junior year in college. I started journaling, writing technical reports and taking photos. So this project is some what overdue. First time learning everything can be daunting, but I wanted to do this right. I want to learn as much as I can while creating a website that I am proud to put my writing, projects, photos and most importantly, time in.
I learned a lot throughout the process of creating this website. I am both proud and humbled about its current state. There are a lot more features I want to add and a lot more things I want to tweak. Beyond just the technical, I think this project definitely yielded some insights into patience, the concept of Kaizen, and meta-learning.
The Design Phase
I had a decent idea of what I want in my website before I started. It has to be easy to maintain, personal, and well-designed. The personal factor instantly ruled out Wix and similar web-builders. I have nothing against those great tools, but I believe a website built for my own liking would motivate me more to learn about web-dev than to see it strictly as a means to my end of self-expression.
The easy-to-maintain factor eventually pointed me to static site generators. I found this website called Jamstack, which is sort of a gateway to this concept of “Javascript, API and Markup” (JAM). I liked the idea of using quick tools to quickly convert documents in Markdown (much easier to write than Latex) or Org Mode (I already use it for all of my notes with OrgRoam) into content-rich websites. So this was the natural route to go down.
Designing the Layout
I had no idea what to do first, so I turned to YouTube for some inspiration. Who wouldn’t in this day and age? I watched videos like “Complete Layout Guide” or “Best Practices in Layout Design” and eventually figured out the jargons people used like the “Hero Section” or “Call-action”. It was time for me get my hands-dirty.
I thought I would start by drawing on a piece of paper or do this in Adobe Illustrator until my friend who studied design mentioned Figma. Can’t say I was too thrilled about doing this in illustrator, so I explored Figma and was pleasantly surprised by its resources. I found a website design kit I really liked and got started.
This stage of designing was really fun. I felt creative and very much enjoyed the process. In the end, I came up with the following wire-frame design with some takeaways:

- I really liked the centered navigation links in the header
- My footer didn’t need to follow the frame exactly, as long as they displayed relevant links
- The main page contents (fun facts, project showcases, and the matching call-to-action) are nice to have, but I didn’t see them as a top priority. So I will add them later once I have the rest of my projects set up.
- I want my website to feel clean and concise overall, so I wanted the color to be mostly black and white.
I didn’t have a lot of preferences for the other pages, as long as they are nicely designed and coherent with the clean and concise. I did think about adding some fun Javascript effects, but those can come after. I needed to learn more Javascript to do that too.
Materializing the Website
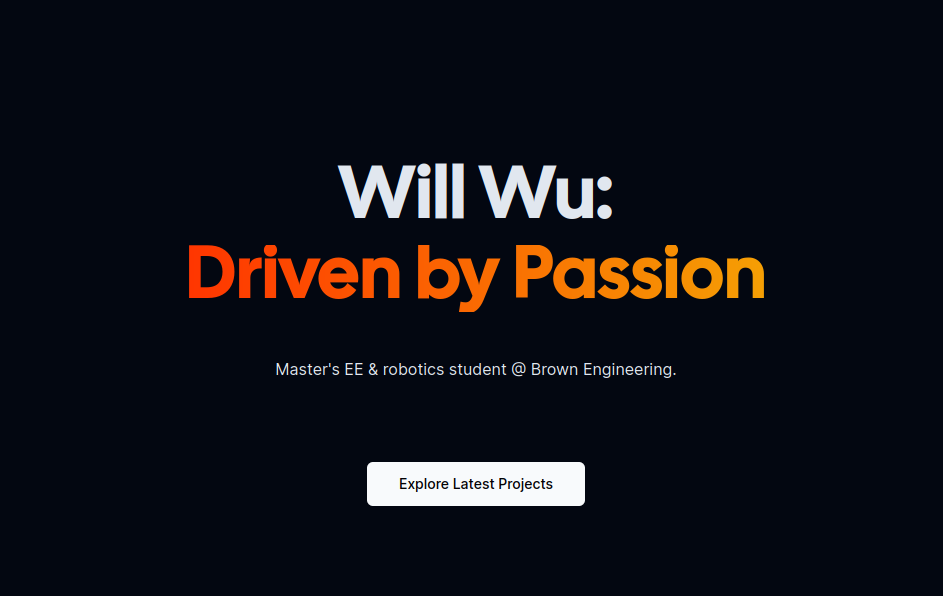
With the wire-frame design nailed, I felt pumped and ready to do some work. Remember I talked about static site generators? I decided to start with Hugo since people liked the speed, though I did have some debates and concerns. Nothing on the official Hugo website wowed me, so I was worried about its potential. Hugo is written in Go, so I worried that I was going to lose out on all the niceties of Javascript (even though it had a built-in Javascript render option for vanilla JS). I gave it some thought, and decided to try it out anyway. I thought the alternatives involved the “deep” web-dev tech stack consisted of HTML/CSS, Javascript, and front-end frameworks such as React, Vim or Svelte. Given I had limited time on my hands (time is the key here), I would just need to learn some Go and HTML/CSS to make this website. I still wanted to learn, so I want to build my own wheel and start from scratch.
The First Experience
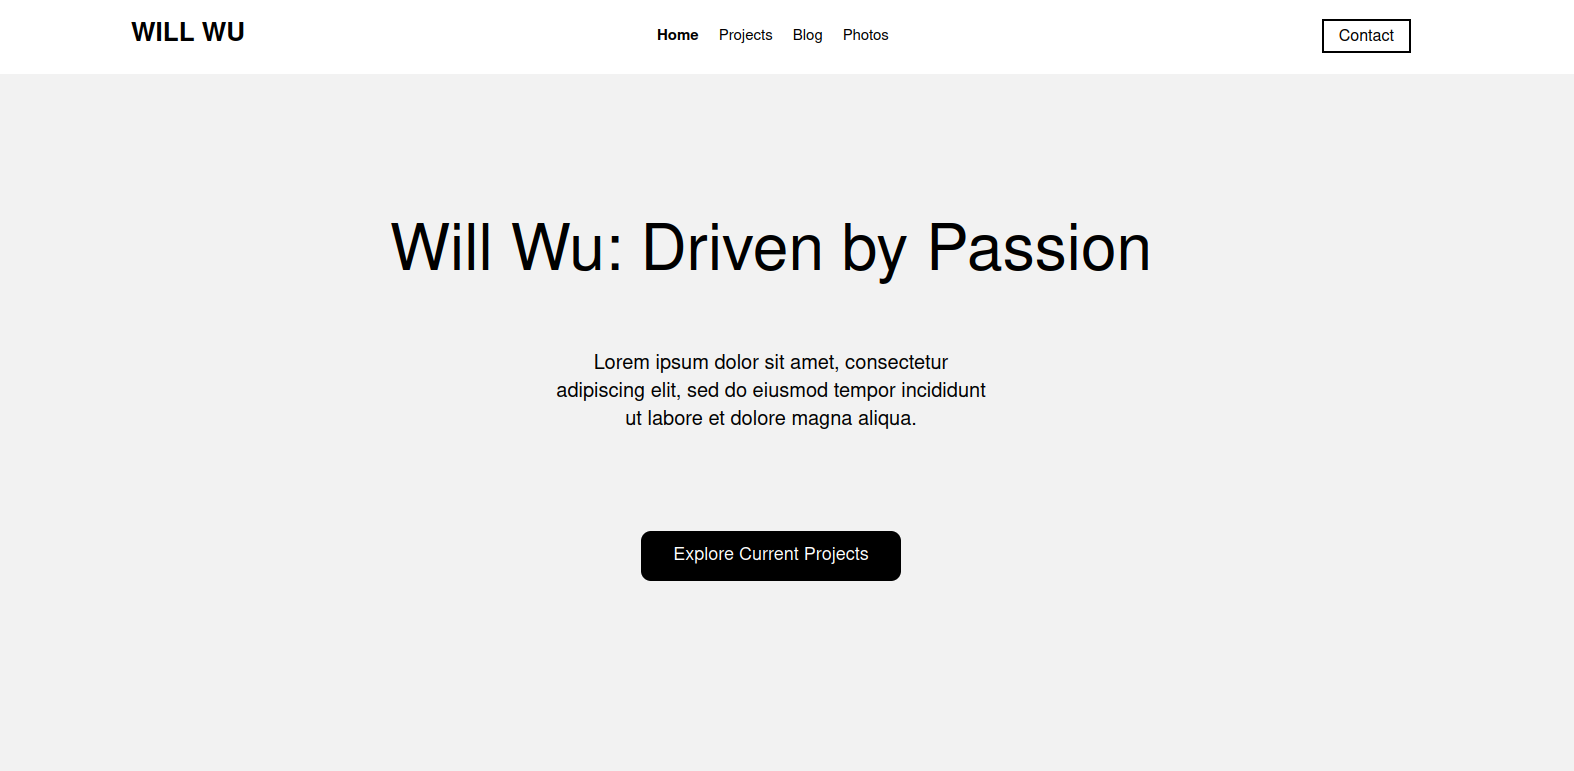
I had sometime during Thanksgiving to make this website, so I decide to start with the front page (so the hero section, header, and footer). This is how far I have gotten in two straight days.

Well… A bit off from my expectations. Part of what I struggled with were the amount of little details that I did not think about. It’s pretty clear to me now that in the process of trying to be original and “inventing the wheel” for the sake of learning, I didn’t factor in time and progress. I wanted to learn how to build a website, yet here I got caught up on the other extreme and forgot the purpose of this website. With school picking up after Thanksgiving, I put a pause on this project.
Regrouping and Making Progress
I picked this project back up after I got home for winter break. After my little set back during Thanksgiving, I realized that I needed to re-balance my priorities. Perhaps it wouldn’t be a bad idea to start with some templates and go from there. Javascript wouldn’t be a bad idea either since I won’t be completely in the dark with a template.
This was when I discovered Astro. I really liked the modern feel of this framework, the well-covered documentation (and more hand-holding compare to Hugo), and the beautiful websites in its showcase. I looked around and found this template, Astro-nomy. It had a MIT license, and had enough features to serve as a base for me to get started.
The rest was history. Over the winter break I worked on the website at a leisurely pace, and eventually got it to a place where I felt proud of. Some things I picked up along the way:
- I liked Tailwind CSS more than Saas, since Tailwind sits directly in the HTML blocks
- Working with Javascript (Typescript in this case) wasn’t all that hard as I thought it would. Obviously my Javacript knowledge is still minuscule, but I was able to get by and get this website up and running.
- The sense of progress was really important during the process of making this site. It was a blast to see my work coming together piece-by-piece.
What’s next for this project?
At the time of writing this, I don’t think this project is finished at all. It just happens to arrive at a presentable state where I can share it with people. The photos page is not yet finished, and I want to add a lot more features such as:
- read time for blogs
- search for both blogs and projects
- a cool Javascript effect in the hero section
- page transitions
- more react UI components
- tailored mobile layout
and so much more.
I think this is also a good lesson learned in terms of being goal oriented and Kaizen. My motivation of building this website is to have a place that showcases my work and hold my thoughts on various things. I didn’t have the time nor the right reason to do everything from scratch. I liked learning things thoroughly and from inside-out, but that comes with a cost I cannot really afford in this case. Kaizen is a Japanese word for small yet continuous good improvements, and it’s especially fitting here. I made some good progress and learned more in the end by making small yet continuous changes, and I’m sure I will learn a lot more in the future with this approach.