Mechanical Keyboards
Did you know that the sound a good keyboard is "supposed" to make is called "Thock"?
Some Context First
A while back I saw this joke:
A girl asks on Quora: ‘What gift should I give to my boyfriend for his birthday?‘
One of the top answers says: ‘You should get him a keyboard. That way when he touches it and uses it everyday, he will be thinking of you.’
There is a lot of truth to this joke for me. I do spend a lot of time everyday using various keyboards. As I was shopping for laptops in high school, I turned away from Apple because of their notorious butterfly keyboards (and the lack of I/O at that time).
I started paying attention to mechanical keyboards when I started programming and gaming regularly in high school. It was a cool factor at first, but the utility of a good keyboard soon overtook the cool factor and dictated my desire. Since I learned how to use Linux, 90% of my human-computer interactions were done using a keyboard. A good keyboard can make the experience of interacting with a computer much more enjoyable.
My first mechanical keyboard was a Varmilo VA87 with Cherry Blue switches. It was a solid starter for me. The clicky Cherry Blues screamed “I’m a mechanical keyboard”. The click jacket offered very tactile feedback as I type or game. I used it from sophomore year of high school to sophomore year of college. I saved up enough money for a small birthday present to myself by that point, so I thought about upgrading. But how? Was there more to mechanical keyboards than just buying one from Amazon? Can I build one and customize it to my own liking?
That was when I discovered the iceberg of the mechanical keyboard hobby.
Researching Keyboards
One of the greatest traits I believe I have is my passion. When something catches my attention, I let passion be my guide and immerse myself in all kinds of learning materials. I scoured the internet during winter break of the OVID year and learned about mechanical keyboards.
One of the first things I caught was how expensive the damn keyboards can be. Features like “gasket-mount”, “brass casing” or “Alice layout” can jack up the price to upwards of $500~$1000. That’s way too much for my liking. I just want my keyboard to be personal and to my liking.
A lot of factors can determine the feel and the sound of a keyboard. Yep, I learned that the sound a keyboard makes is also very important. Some people describe the ideal sound as “marbles hitting a hard table top.” I would say it’s a mixture of that, the sound of crabs walking, and a dash of “clack”. A complete mechanical keyboard is generally made out of mechanical switches, stabilizers for longer keys, key caps, a PCB, an optional plate between switches and the PCB, and a case. Every component can affect how a keyboard sounds and feels to various degrees.
It was super cool to me how my brain can gain and fit a crazy amount of information over a month of watching YouTube videos, browsing Reddit and geekhack. Eventually after enough learning, I came up with a decent idea of what I may like, and decided to get some parts to start building.
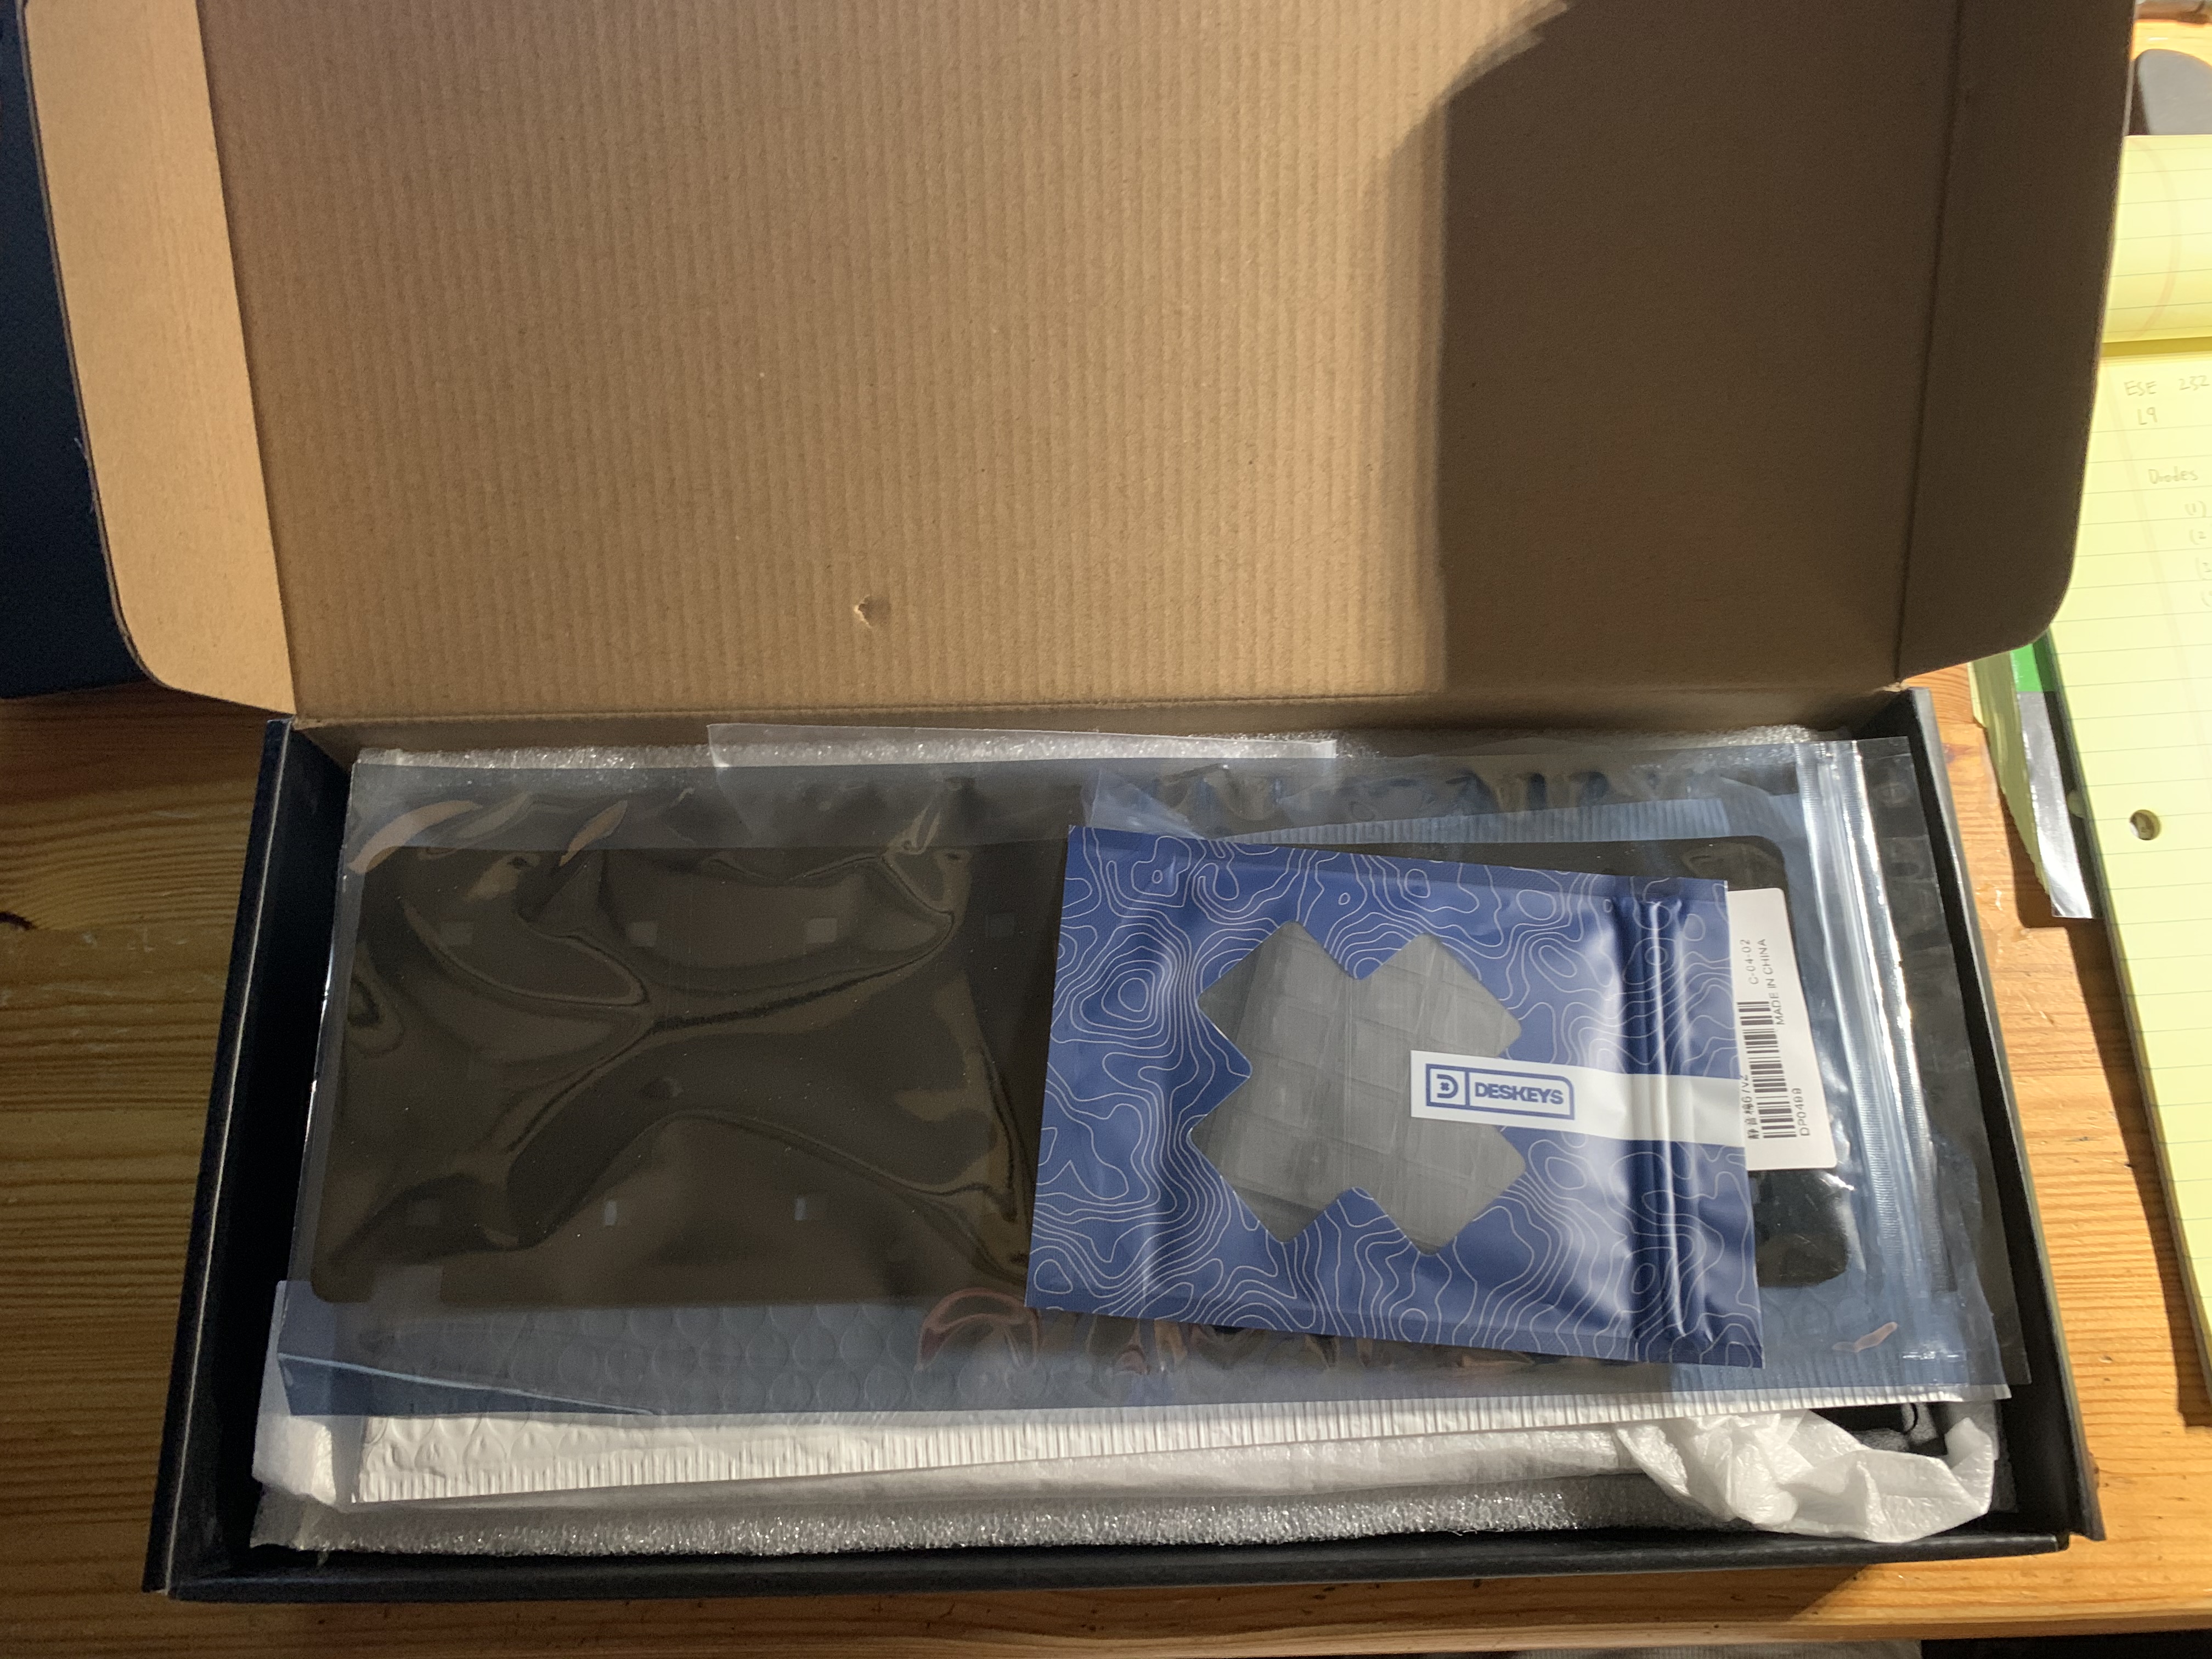 Parts I ordered came packed in a neat box
My First Custom-Build
I didn’t want to go all out crazy, especially for my first custom-build keyboard. Naturally, cost rules out of most gasket-mounted keyboards and those with a limited production run. Products from KBDFans seemed like a good option to me, since they have decent quality and seemed to be many people’s first custom-build. At that time NovelKeys had not released their NK65 keyboards yet, otherwise it would have been a great option.
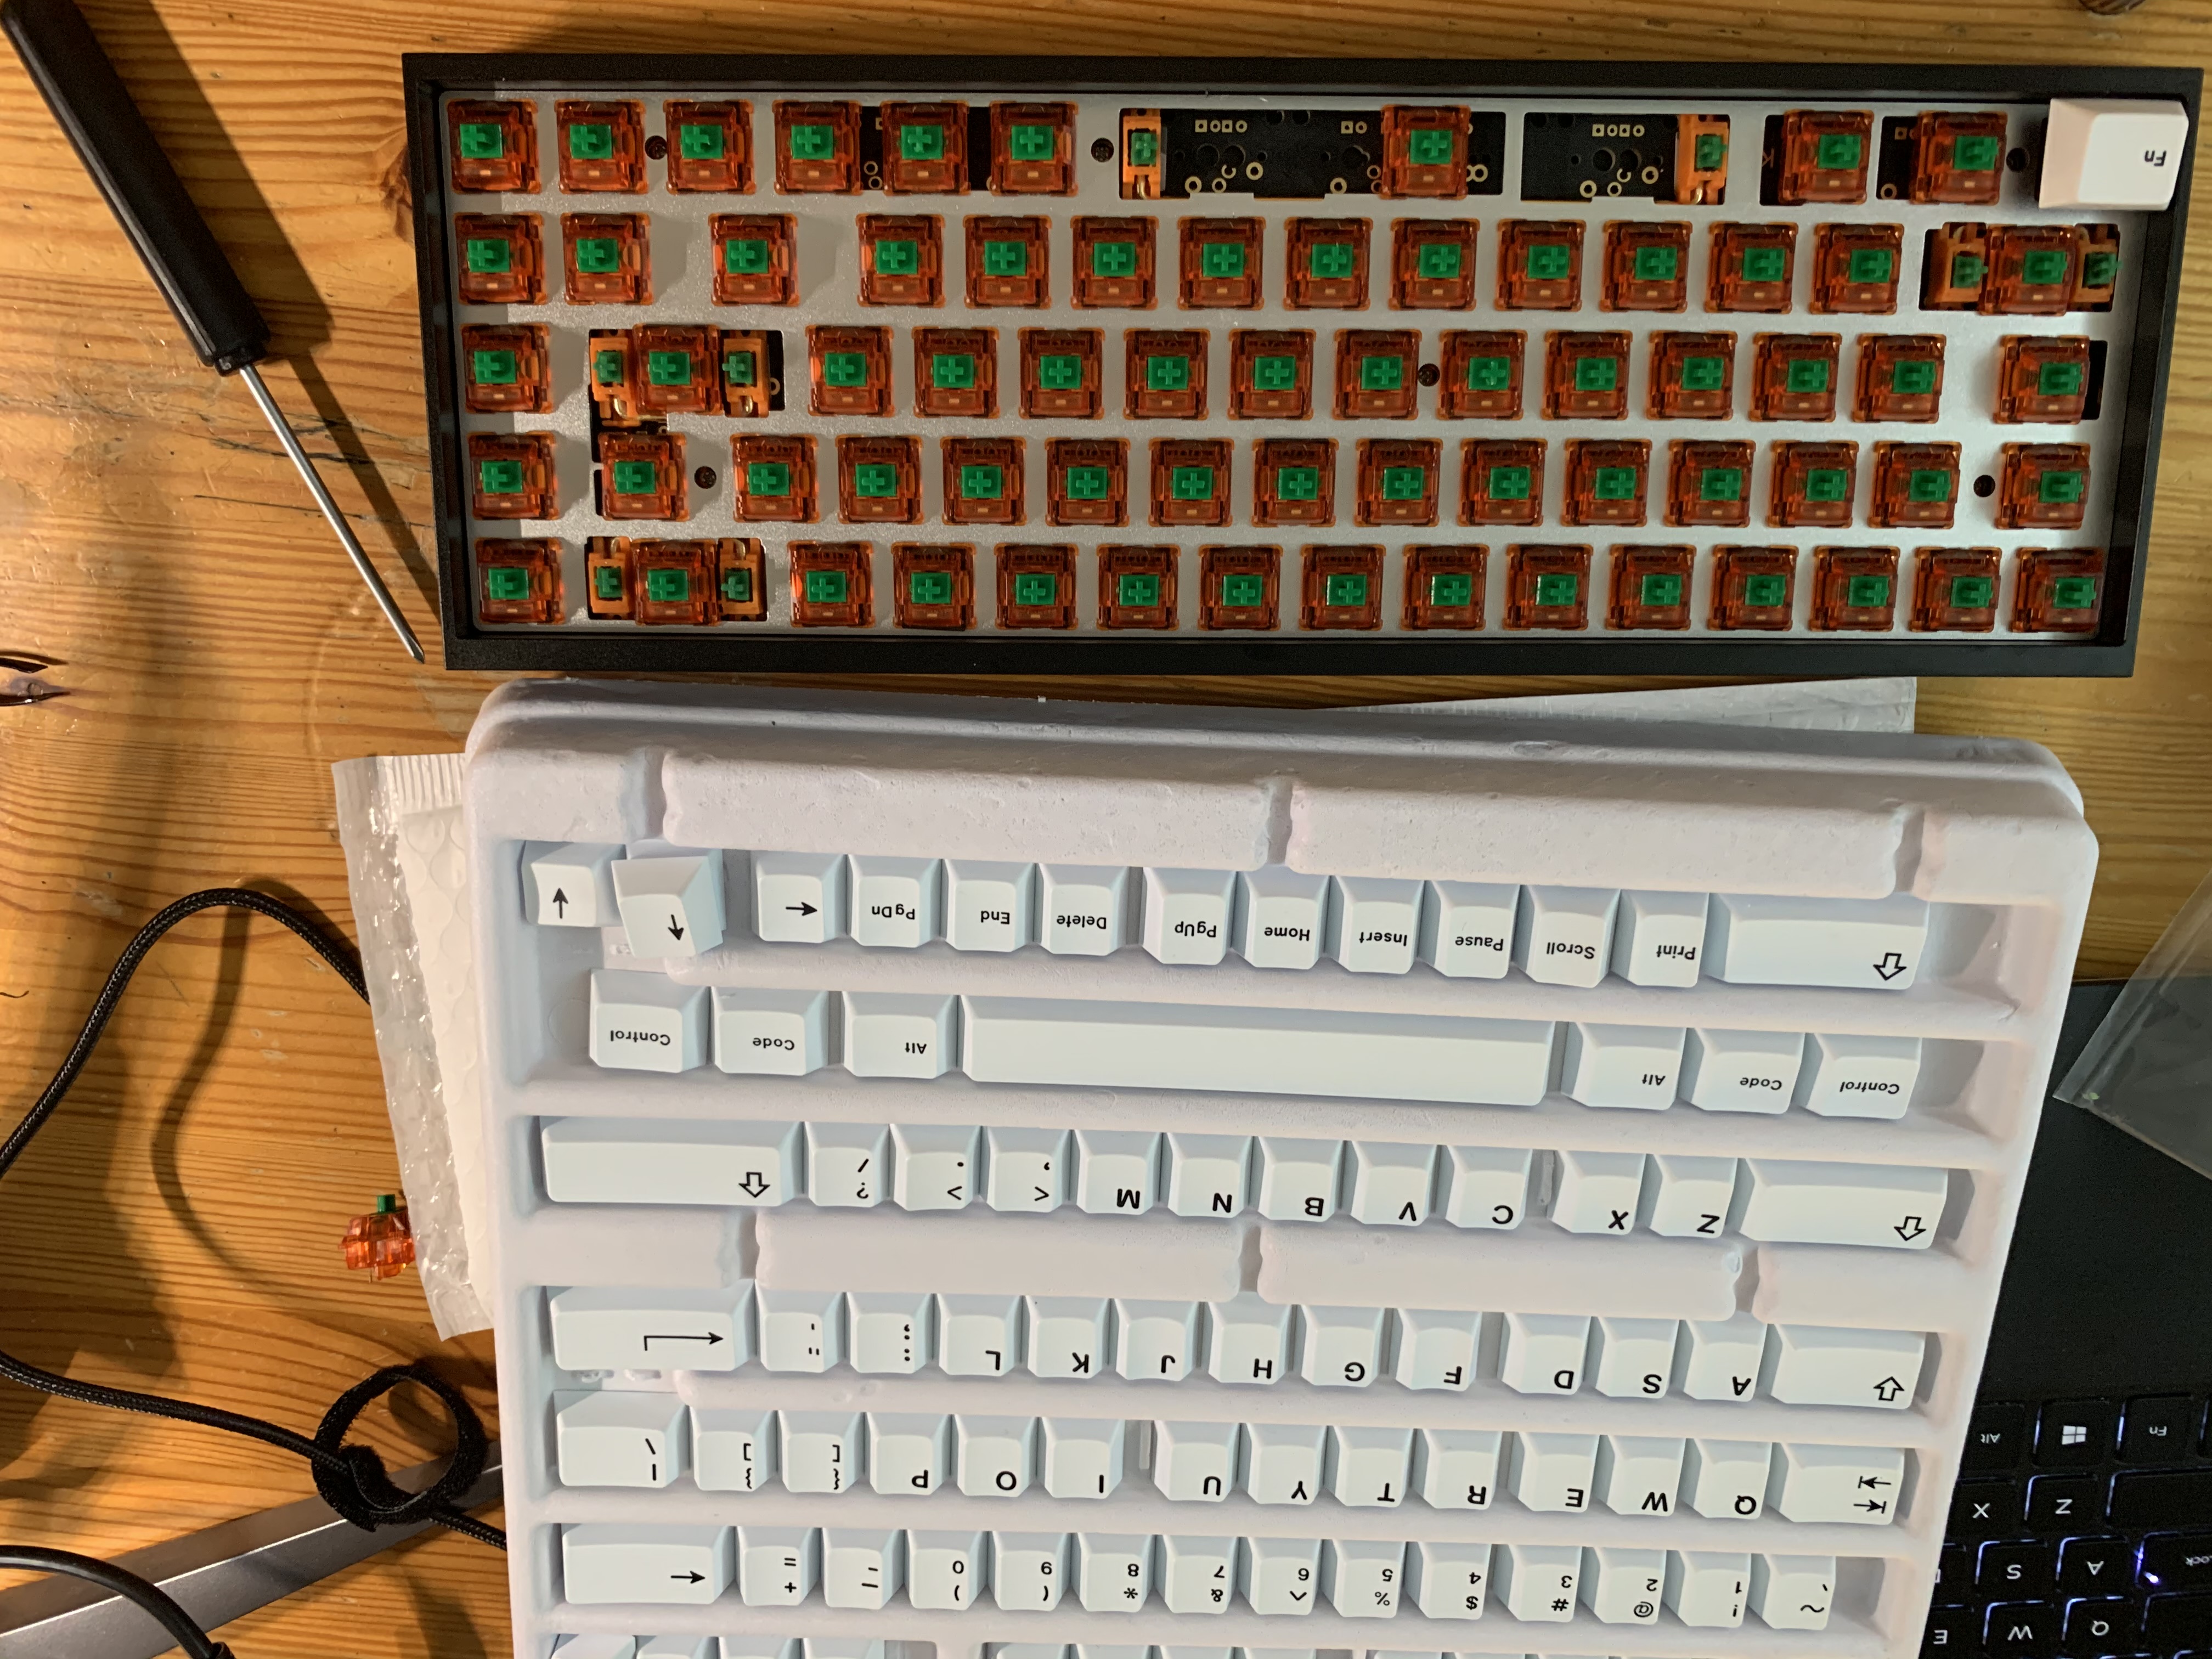
I chose the 67-key layout (function keys and num pad removed) and got the matching Tofu67 case, plate and PCB from KBDFans. I thought it would fit great on my college dorm room table and not take up too much space. For the switches, I wanted to try out linear switches first, since they seemed more straight forward to lube and harder to mess up. C3 Tangerine switches were perfect. They are smooth to type on out of the box, and the weight of the springs come in perfectly at 67 grams - neither too heavy nor too light. Along with the essential parts, I also bought various accessories such as switch films, o-rings and foam pad to put under the PCB.
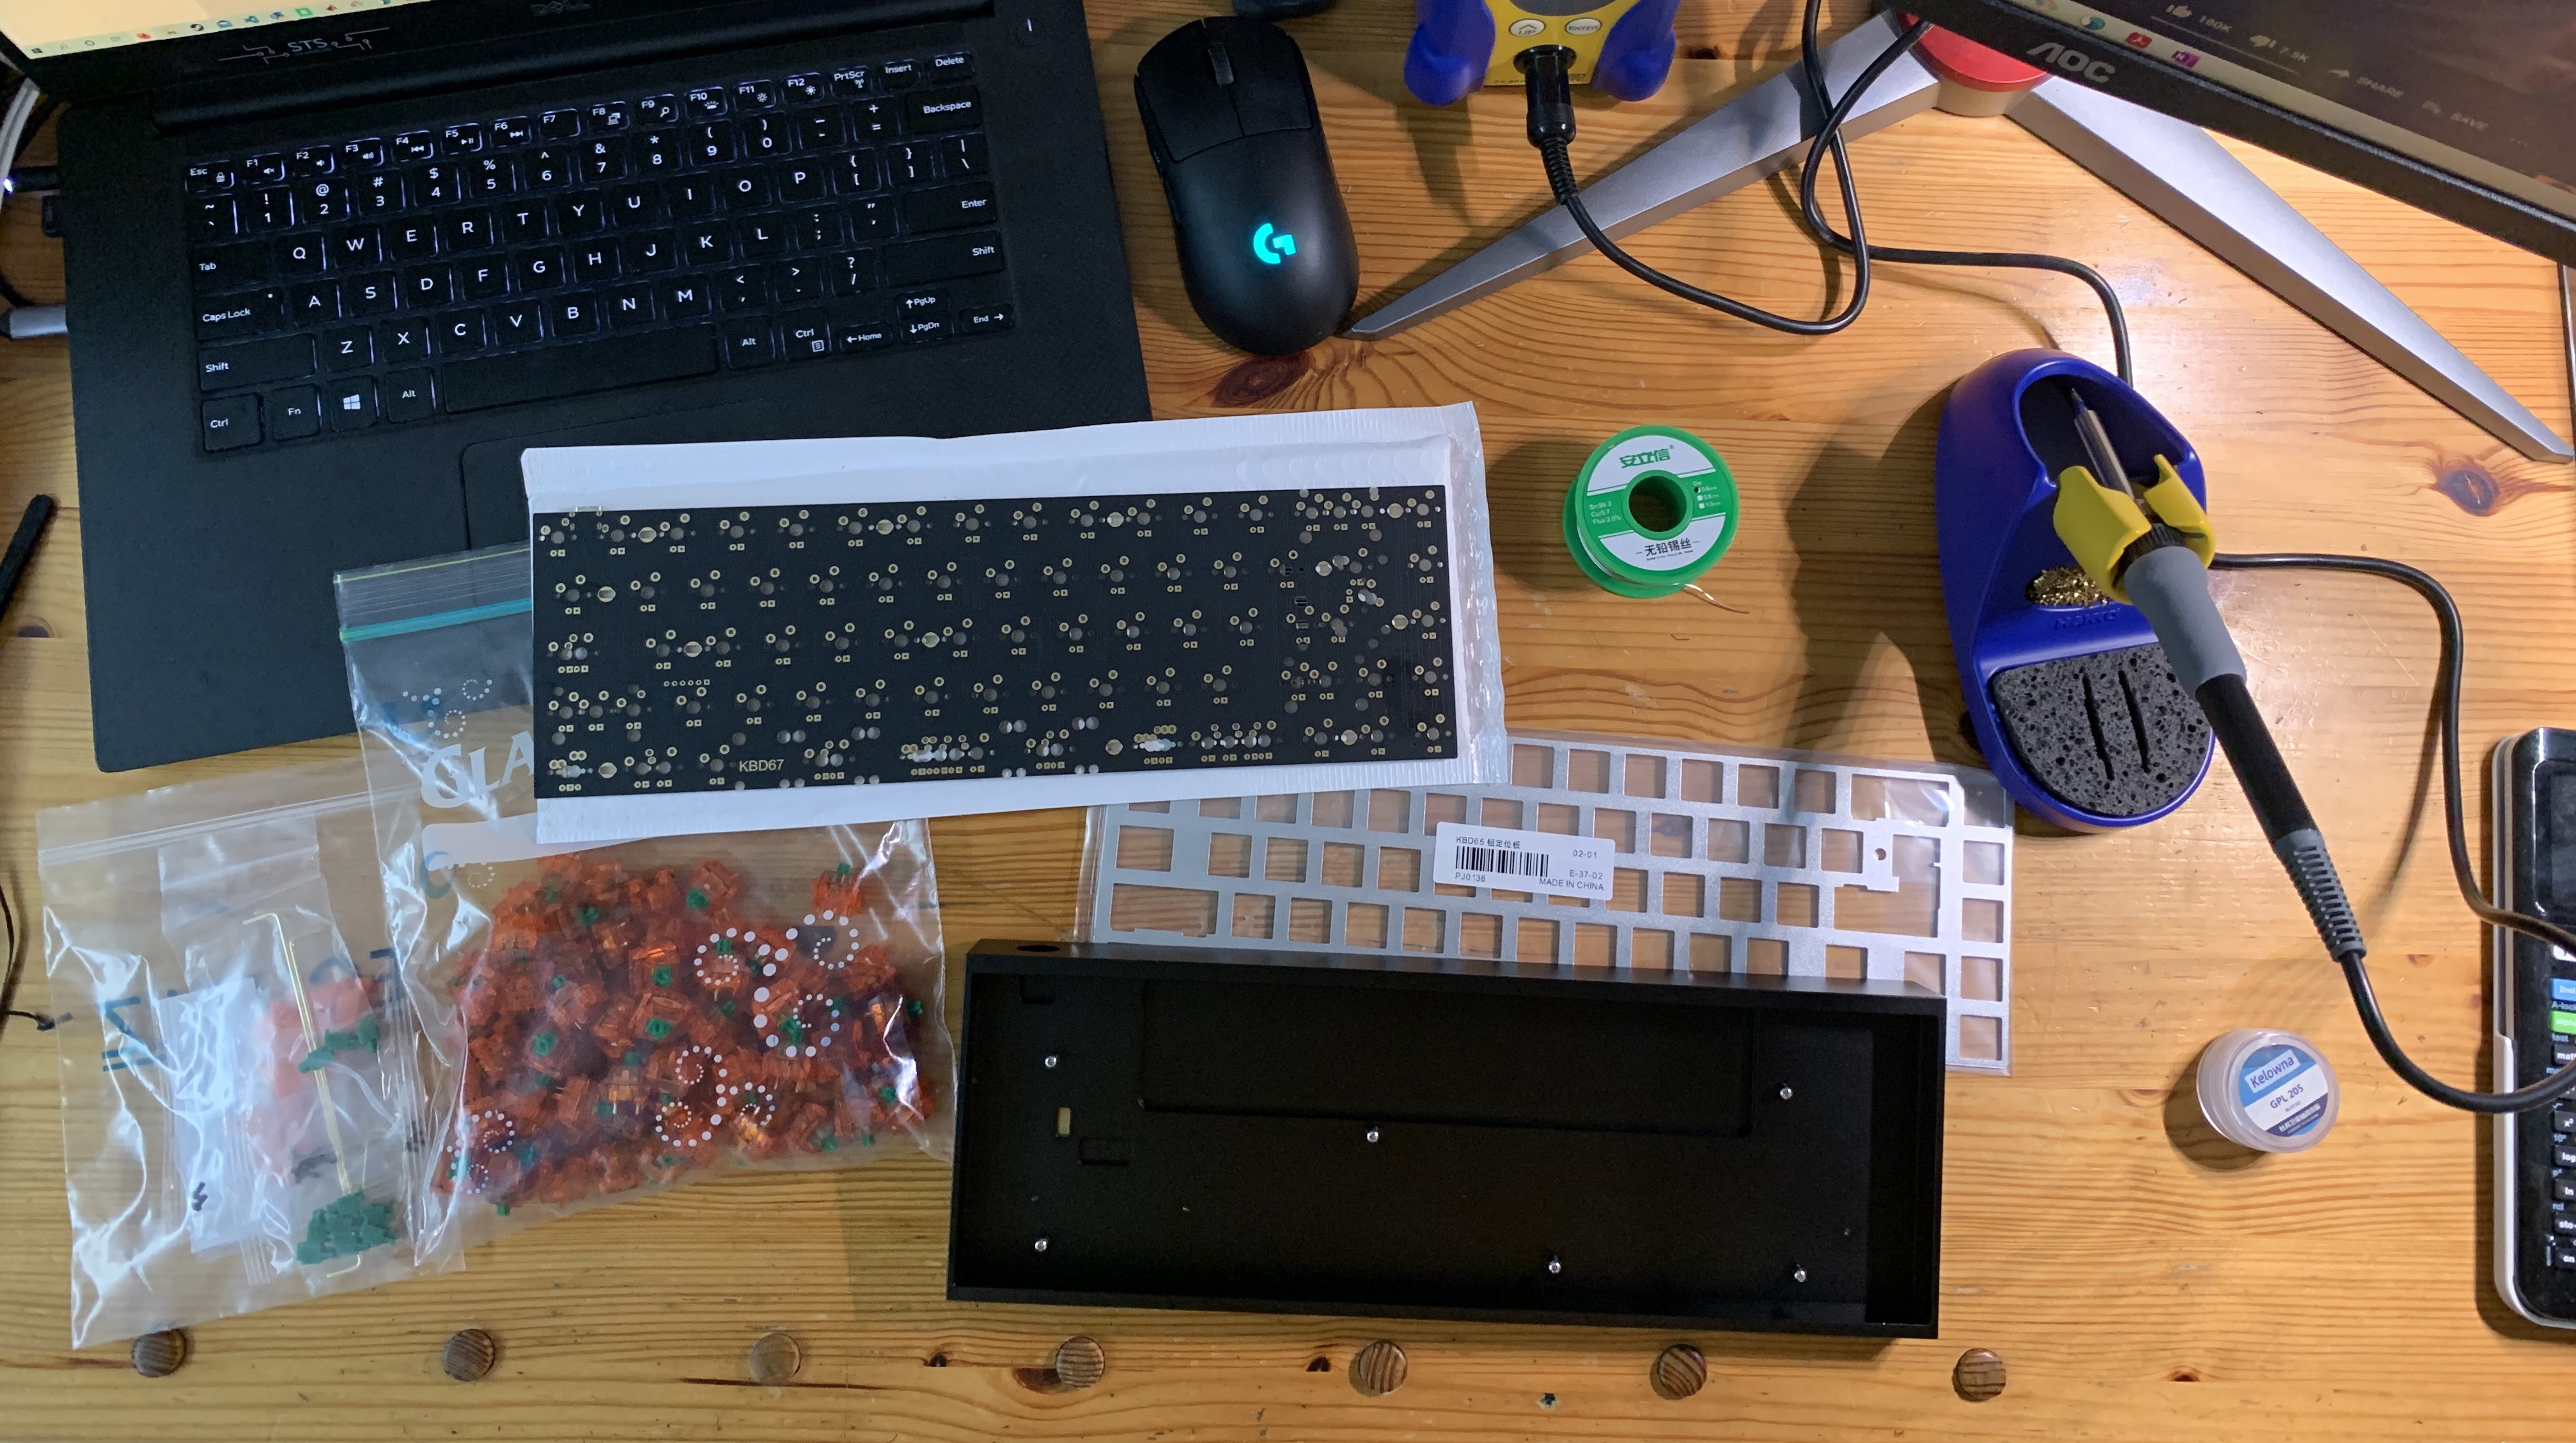 Ready to build!
Building the Keyboard
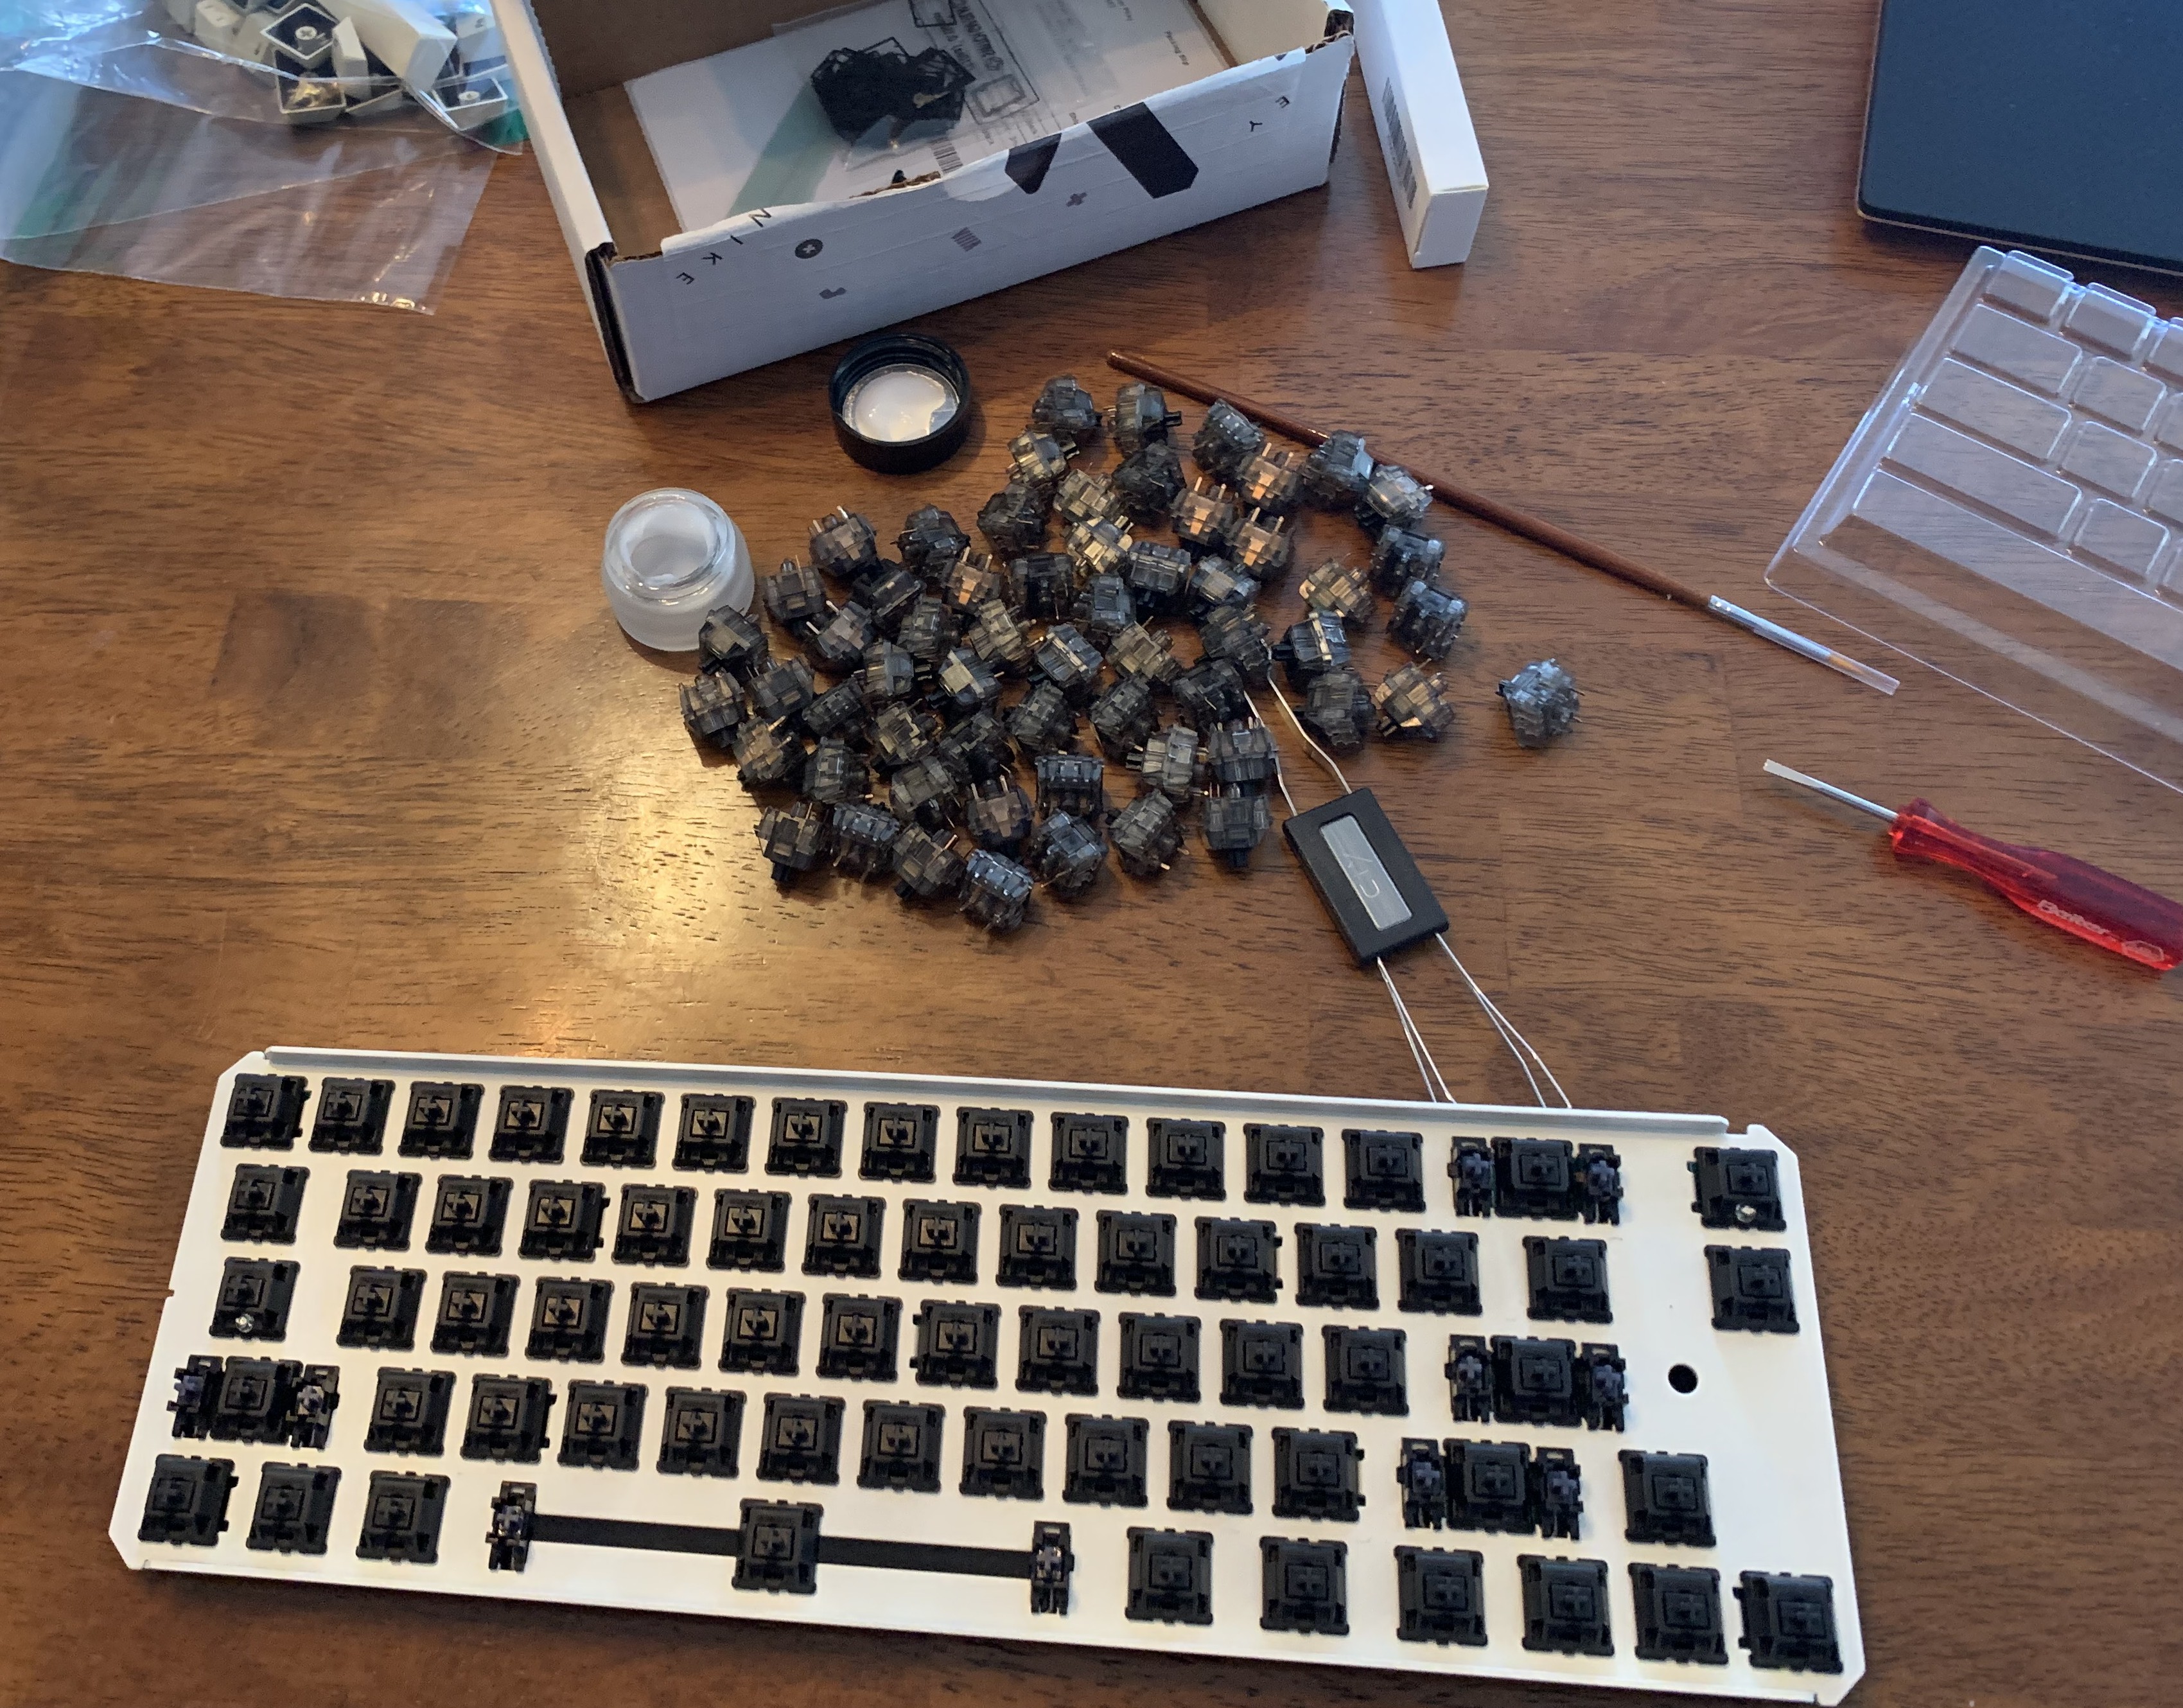
You may wonder if you read “lube” right as you read through the last section. This was a surprise discovery for me too. Keyboard enthusiasts apply lubricant on their switches in order to improve the sound and the feel of the key switches. After all, a key switch comes down to two pieces of plastic (stem and housing) rubbing against each other. Lubricant is only going to make this process smoother.
I lubed 70 switches in the span of 3 weeks. The spring semester of my sophomore year has started at that point, and lubing switches turned into a therapeutic after-school activity during the difficult COVID year. I would disassemble 5-10 switches after class, put on a TV show, and brush DuPont Krytox 205 lubricant on the housing and stems with a thin painters brush. After the stem of a switch was lubed, I applied a thin switch film between the upper and lower housing of the switch before assembling it back. The film was there to eliminate stem wobbles.
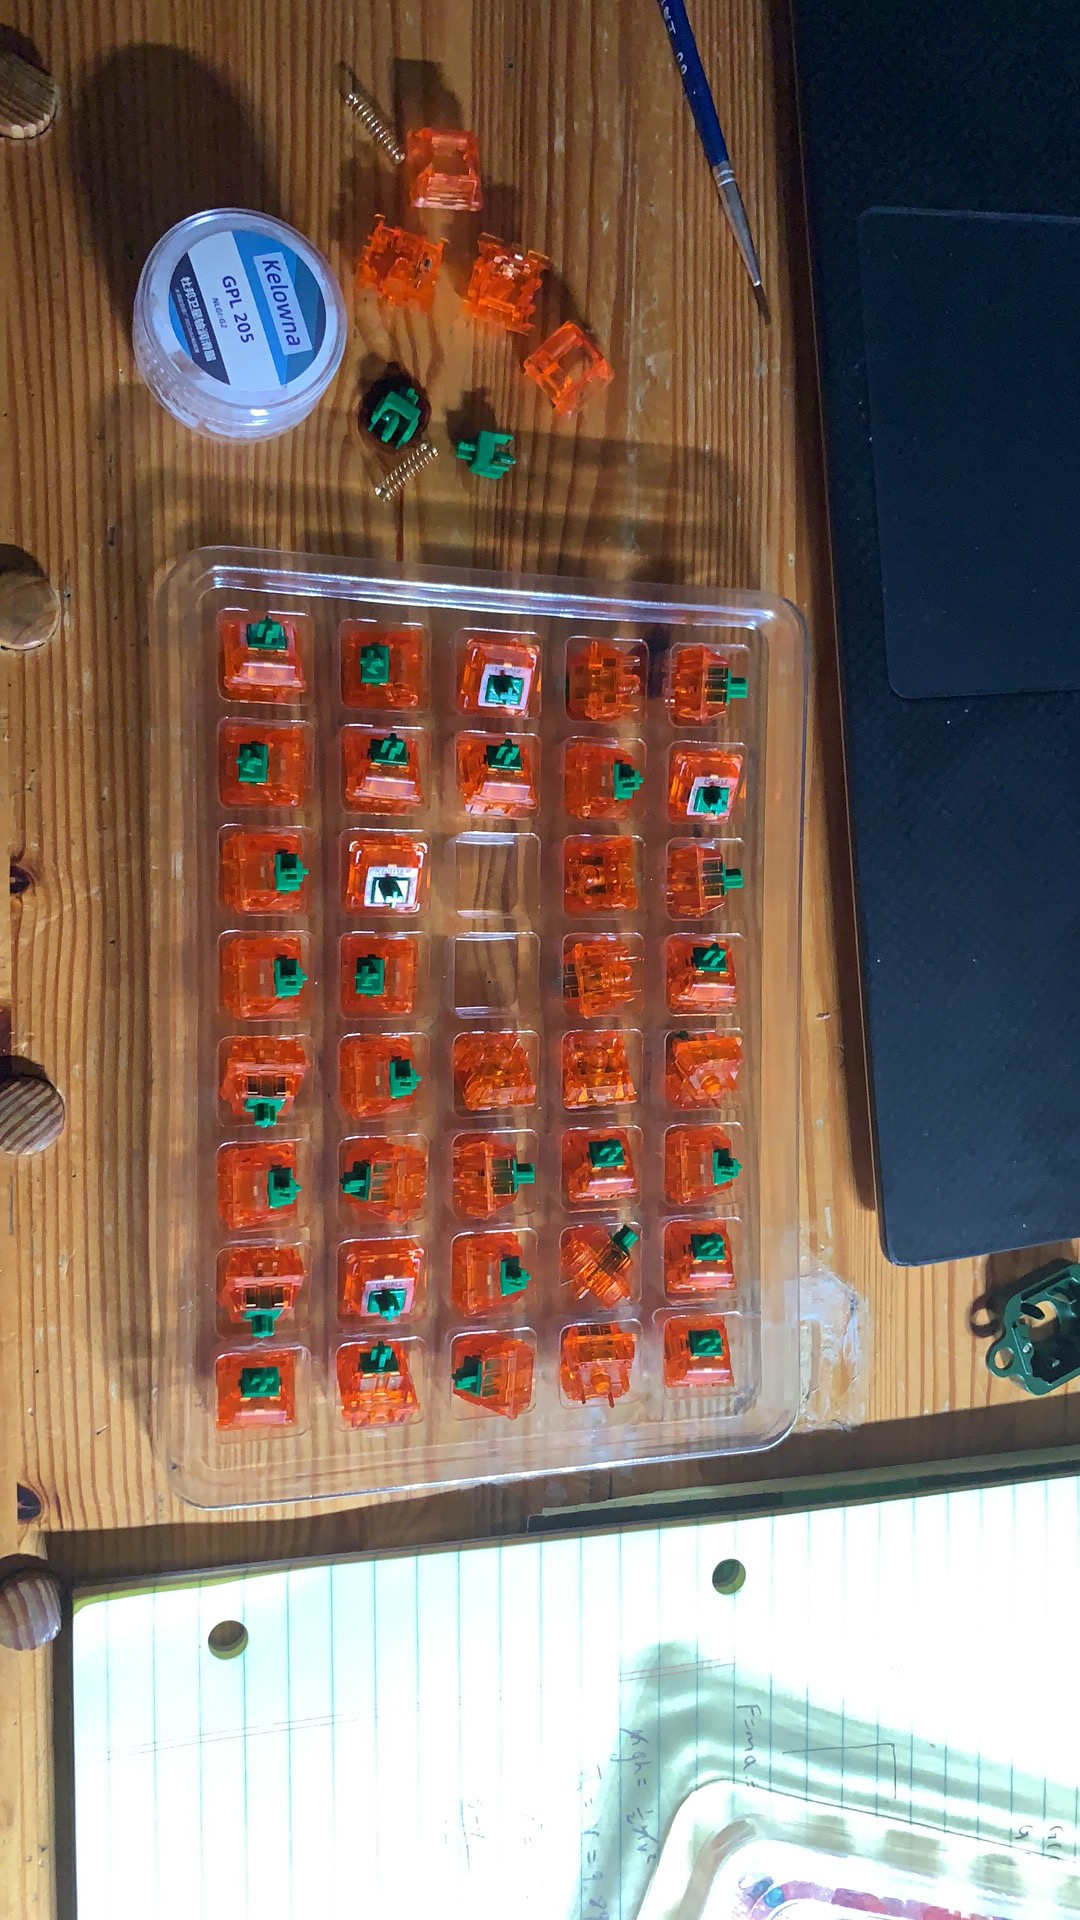 Lubing switches was repetitive yet weirdly calming
I had watched countless YouTube videos by that point. I found it amusing that most people didn’t like soldering, so they always opt for hot-swappable PCBs. I on the other hand loved soldering (maybe because of my electrical engineering major), so I made sure to get a normal PCB and soldered all the switches in myself. This process took around 40 minutes - a hell lot shorter than lubing the switches.
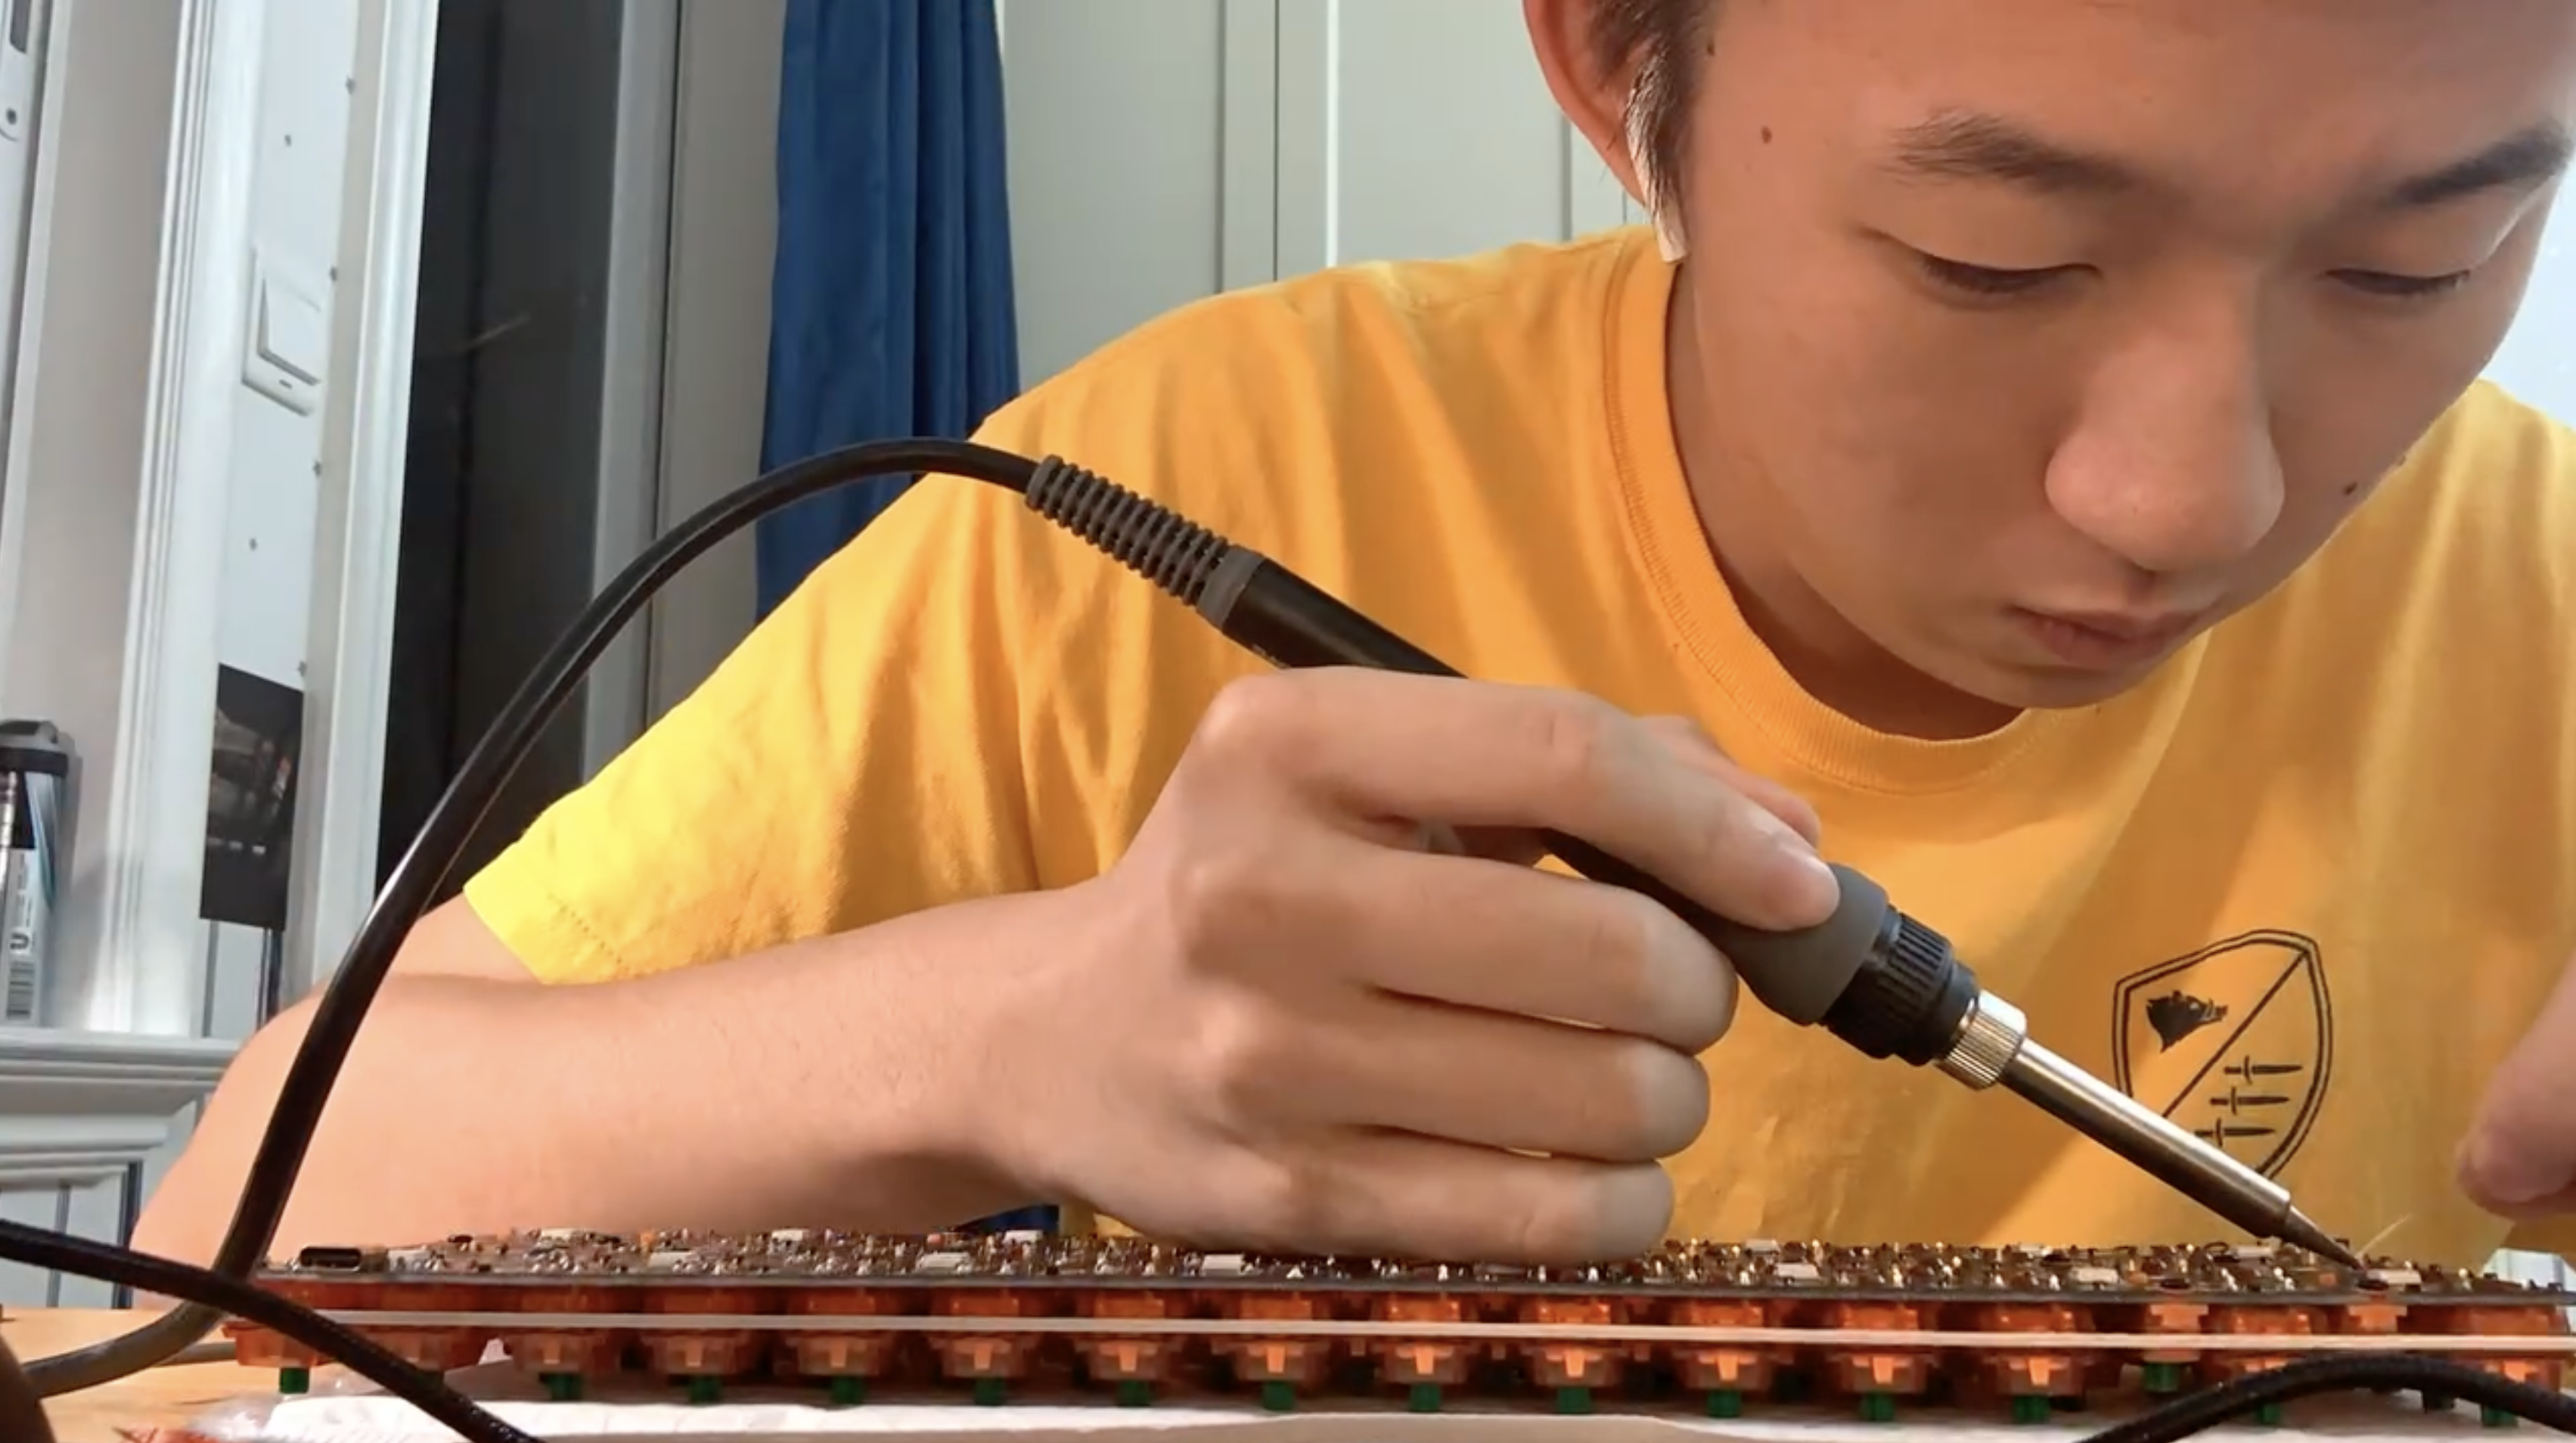 Don't mind me, just soldering my keyboard!
After all the switch work was complete, the keyboard was about 60% finished. It is important to note that I soldered the switches with stabilizers first, and made sure to lube the stabilizers and applied band-aids under them to eliminate stabilizer wobbling. The stabilizers took me a while to tune, since the delete-key “stab” was especially wobbly. I had to take a syringe with lube and inject the stabilizer stems with lube to eventually eliminate wobbling.
The keyboard was almost complete. As the last step, I followed this O-Ring Mod to isolate the plate-PCB fixture, effectively turning my tray-mounted keyboard in a quasi gasket-mounted keyboard. The sound improvement was day-vs-night.
For the key caps, I found a set of GMK Minimal R2 on sale.
 Putting it all together...
I was (and still am) very, very pleased this result. The keyboard sounds clacky yet crisp to type on. It for sure made my experience typing out homework better. One of my favorite Star Wars: Clone Wars story arch was about Jedi younglins going to the planet Ilum to find their Kyber crystals and building their lightsabers. I am not sensitive to the force, but this sure felt like building my own lightsaber to me.
(I’d make sure to embed a video here once I figure out how to embed videos using MDX)
Scratching the Itch
I modified two other mechanical keyboards after my custom-build to scratch the keyboard itch. The first one was my old Varmilo VA87.
My mom really enjoyed hearing my loud Cherry Blues even though I got tired of them after 5 years. I couldn’t leave her out of experiencing the joy of clicky switches, so I modified the keyboard and replaced all Cherry Blue switches with Kailh Box Jade switches. The double click from the click bar felt very satisfying to type on, and box jades are definitely my de facto clicky key switches from now on.
Fast forward to a year later, my roommate really liked my keyboard too (mostly because of the sound). I offered (my free labor) to modify a Varmilo VA67 for him if he buy the parts. I took off the Cherry Blacks that came with the keyboard and replaced them with Lubed Gateron Ink V2 switches.
After building/tweaking three keyboards, my thirst were well quenched. I don’t think I will be building another keyboard anytime soon (unless someone asks me to, then I will do it for free). Nevertheless, there are some really fun keyboard related projects I would love to try out if I have the resources to do so. For example, this Mercutio 40 is extremely budget friendly, feature packed (with a small OLED screen and a rotary encoder), and fun to build (I would have to solder all electronics onto the board). I would love to get my hands on building an Alice layout keyboard too. Maybe sometime in the future, I would learn to design a custom PCB and write the micro-controller firmware for the keyboard matrix. Perhaps then would I have truly seen the entire pipeline of making a mechanical keyboard.